Print Mounting and Lighting
Mounting
Properly mounting your print will result in years of enjoyment. Considerations in choosing a mount include: degree of protection of the print surface, control of reflections, earthquake safety, cleaning/dusting of the piece, and cost.
Traditional Mat and Frame
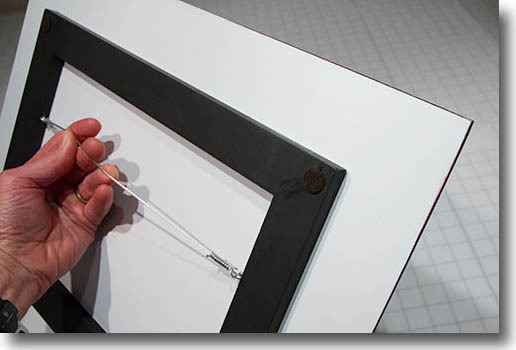
Traditional matting of the print using 100% rag mount board and archival mat construction results in the highest lifetime. The matted print is covered with a glass or plexiglass pane and enclosed in a frame.
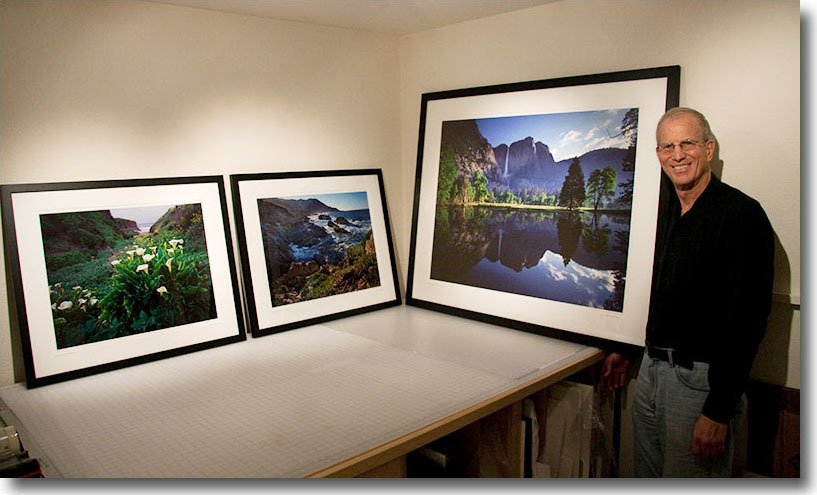
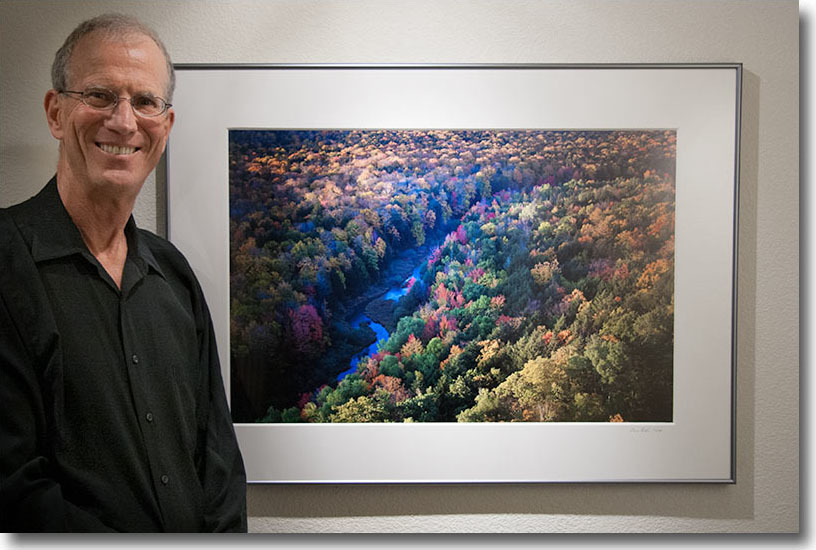
The frame is hung on the wall with a wire and wall hooks. Cleaning the piece is done with a damp cloth. This method is works for prints up to about 30 x 40; above that size, the frame is too bulky (and expensive). Smaller mounts can include an inexpensive glass pane, but larger mounts will need plexiglass as it is much lighter, safer, and more earthquake-safe.
Frameless Mount using Aluminum Dibond or Gator Board
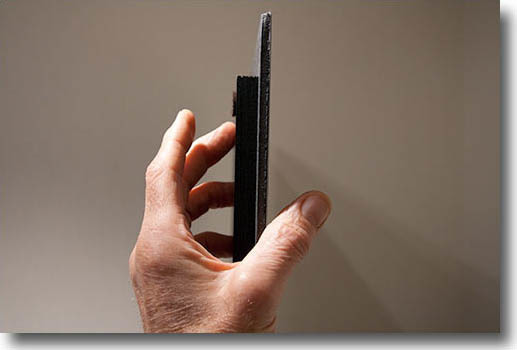
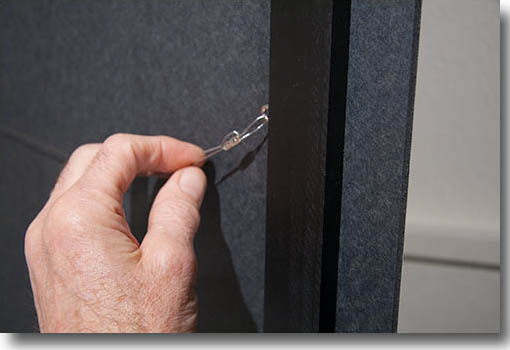
A modern "frameless" approach is to mount on dibond (or equivalent), a 3mm sandwich of two thin aluminum plates with a plastic filler between them. This substrate is very flat and stable.
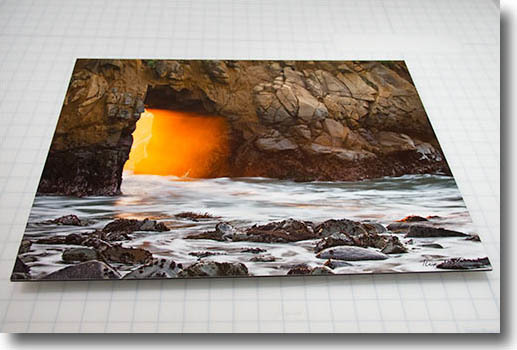
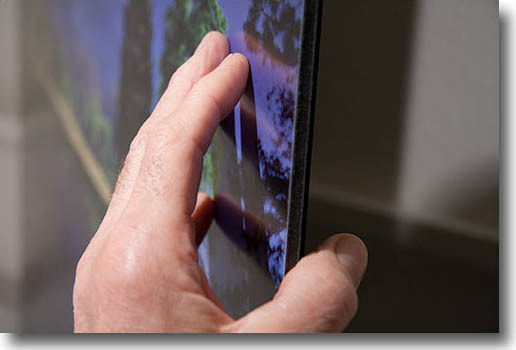
Before mounting on dibond, first the print is made using an archival pigment ink process. Then a transparent laminate film overlay is applied to the print using a roller machine, preferably using a cold-mount adhesive. This film protects the print from moisture and damaging UV light. The print along with its transparent laminate overlay is then mounted to the dibond substrate, again using a roller machine. A simple wooden stretcher is applied to the back of the dibond using an adhesive. To the stretcher we add either a) a french cleat which mates to a matching cleat fastened to the wall or b) a traditional wire for mounting to wall hook(s). The cleat option is recommended: it's the most earthquake safe- and, the artwork will not get "out of level"!!
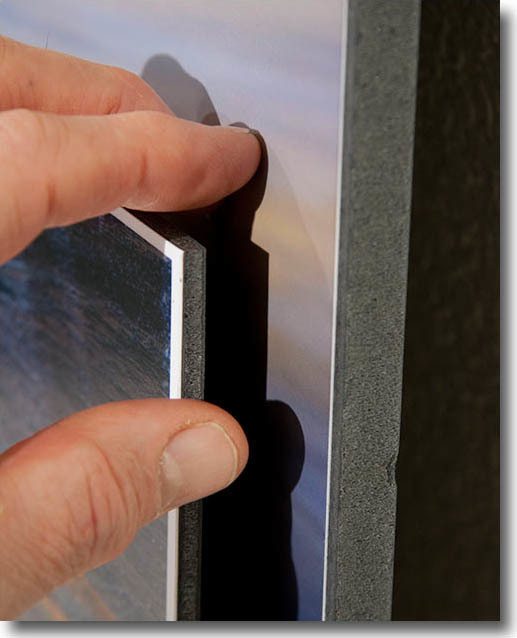
A lower-cost alternative to dibond is gator board, either 3/16" or 1/2" in thickness. The same processes are used. Gator board is slightly more susceptible to dings on the edge.
Canvas
I print directly on canvas material. The print is then wrapped around a wooden stretcher and sprayed with laminate for UV and moisture protection.

Canvas prints offer the lowest ready-to-hang cost for large prints. The detail and resolution is excellent, surprisingly so, given that the material is not as smooth as a traditional print. In order to maintain a color-matched process, the print is evaluated after the laminating spray has been applied. The spray increases color saturation, contrast, and thus apparent resolution. The finished piece can be mounted using a wire and wall hook(s) or by using French cleats.
Lighting
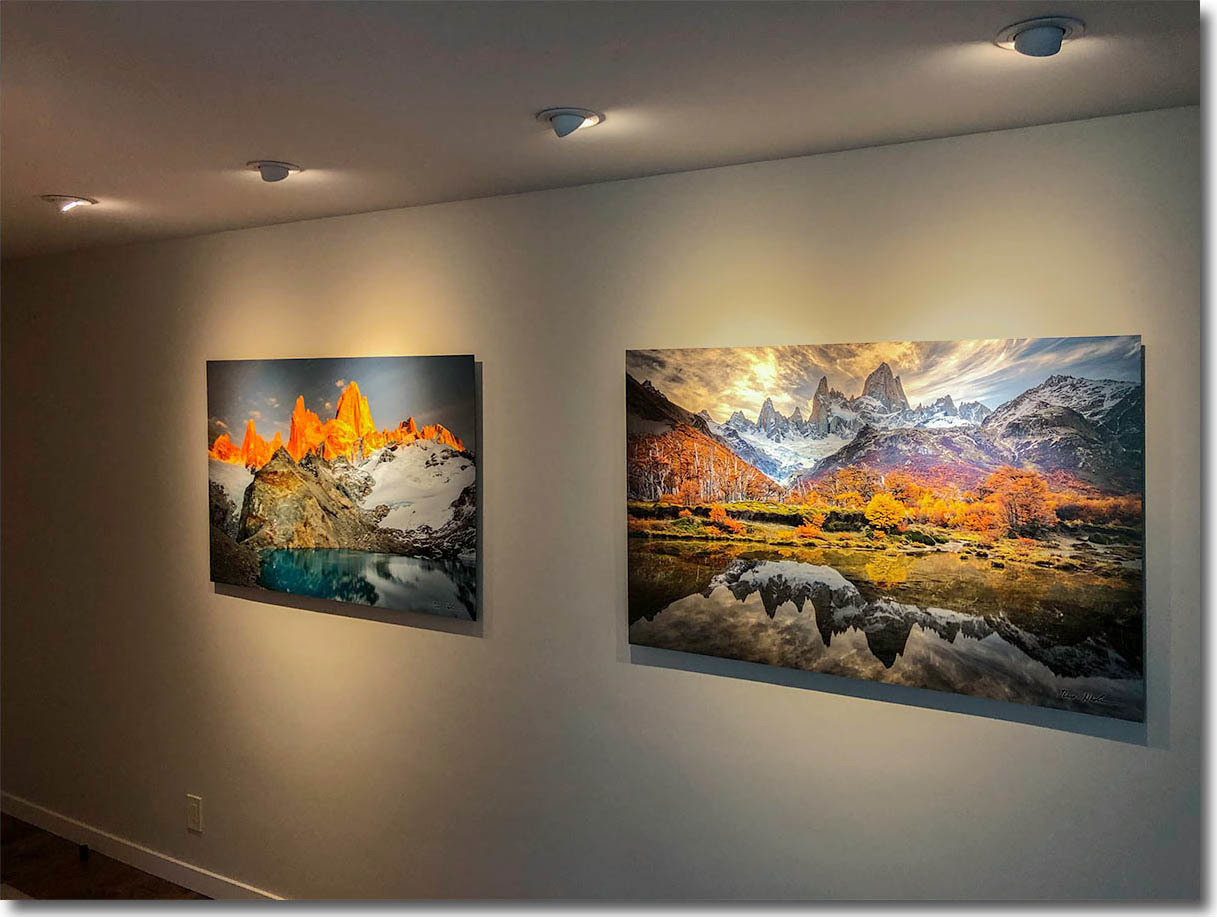
Your print will look its best if well lighted. I recommend using wide-angle "flood" LED lamps, with 2700 degree (warm) color temperature. These are mounted in light fixtures which are either recessed in the ceiling or placed on a track. These lamps consume 6.5 W of power and produce the equivalent of 35 W tungsten lamps, thus potentially reducing room heating.